An App To Transfer Files To The FlashForge Adventurer Or Monoprice Voxel

A little while back I wrote about how to use Cura with the Monoprice Voxel / FlashForge Adventurer 3, in that article I discussed how to create a printer profile and slice your models to produce a G-Code file. However, without using the bundled FlashPrint software, it was not possible to transfer the file over the network – instead needing to use a USB flash drive.

I wanted a lightweight app I could use to transfer files to my printer, so I’ve spent the last few weeks I’ve been building Adventurer Client to do just that. I wanted to use it as an opportunity to learn some new frameworks / technologies and I had a lot of fun building it. I thought it would be useful for other FlashForge & Monoprice users too, so now I’m ready to share it with you all.

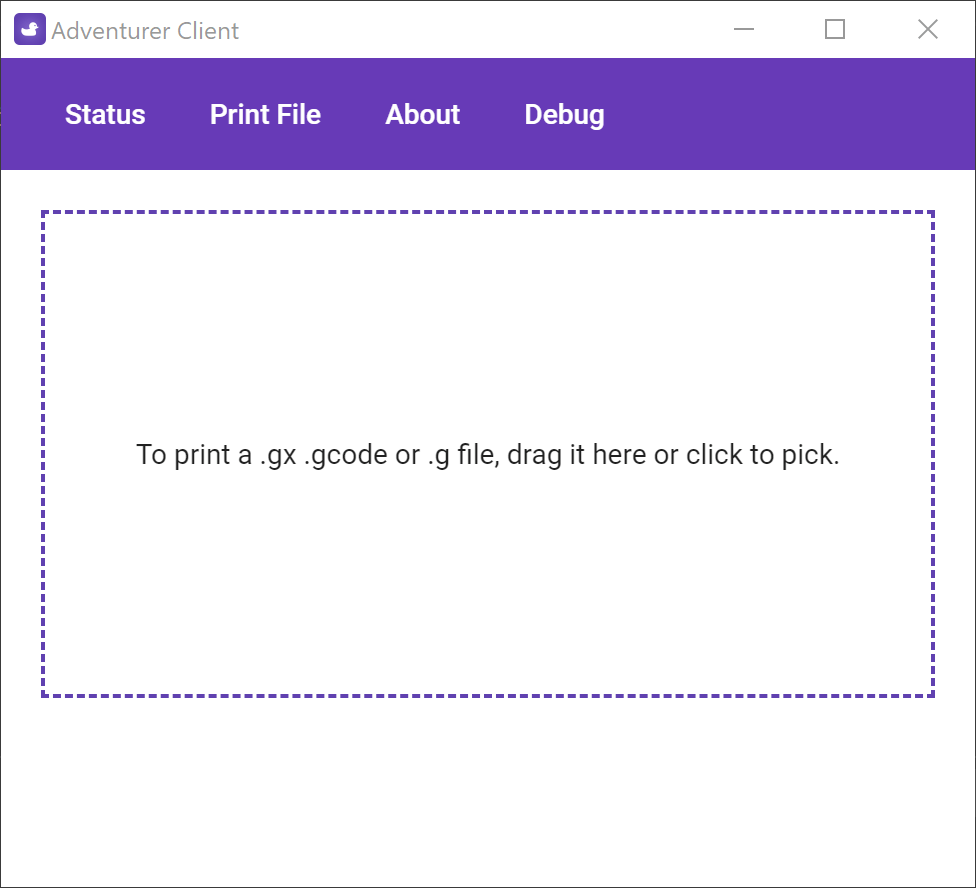
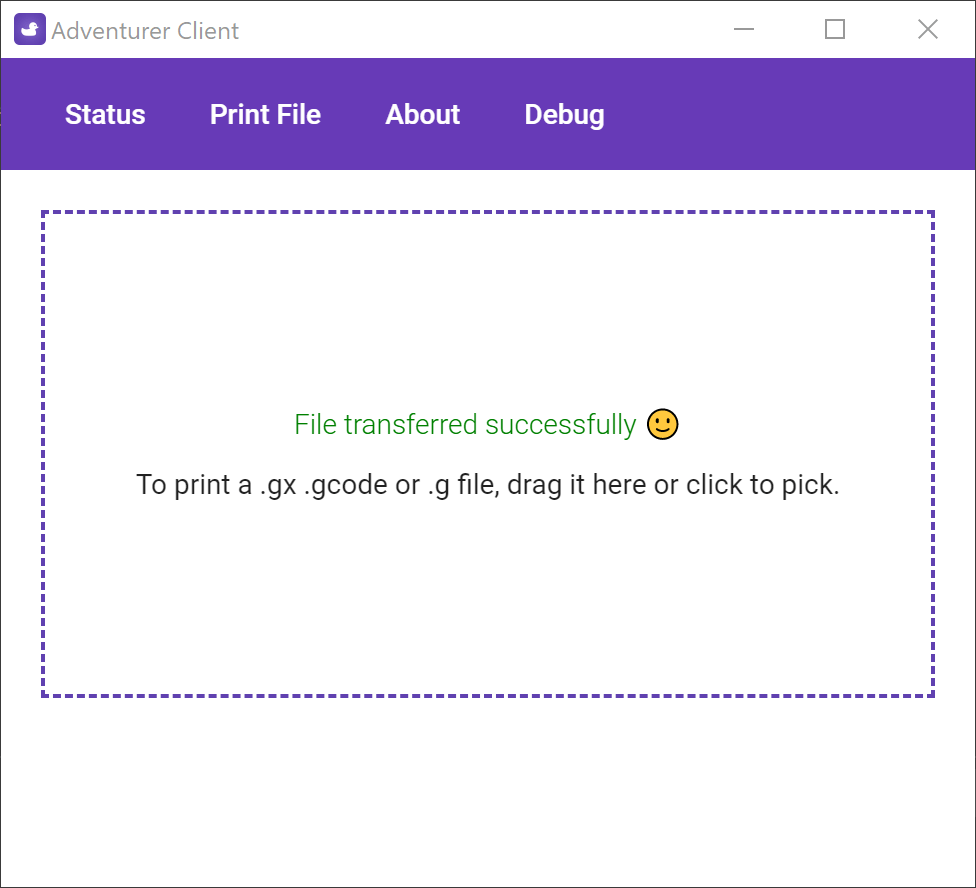
Using Adventurer Client, you can connect to the printer, see its state and transfer already sliced gcode files to the printer.

Printer Compatibility

I’ve tested this with a Monoproce Voxel, which is a rebranded FlashFordge Adventure 3,  I believe this will work with other FlashFordge Printers too, but I don’t have access to any to test this. If you try the app with your printer and it works (or does not) please let me know 🙂.

Getting the App

Windows 10

If you’re running Windows 10, the easiest way to get the app is to instal it from the Microsoft Store here.

Windows 7, 8 & 8.1

To install the app on older versions of Windows download the installer (AdventurerClient-win.exe) from the lastest release here.

MacOS

To install the app on older versions of Windows download the macOS dmg (AdventurerClient-mac.dmg) from the lastest release here.

“Adventurer Client” cannot be opened because the developer cannot be verified.

Unfortunately, Apple requires that software running on macOS be signed and notarized so that they can verify its identity. Doing this would require me to buy an Apple Developer license which is quite expensive. Therefore, for the time being, the app is distributed unsigned (if I buy a developer license later on, I’ll submit this to the App Sotre). To run the app you need to perform the following steps, for the first run only.

  1. Double click on “Adventurer Client”
  2. At the “Adventurer Client” cannot be opened because the developer cannot be verified. message, click cancel
  3. Right click on the app and click open
  4. At the macOS cannot verify the developer of “Adventurer Client”. Are you sure you want to open it? message, click Open

Tech Details

I’ve published the app’s source under the MIT license on my GitHub. In order to easily support running on both Windows and Mac, it is implemented as an Angular app in an Electron wrapper. I was larning a lot about these technologies as I went, so if there are things that seem odd, your feedback (or pull requests) would be warmly welcomed.

Feedback

I this app is useful to some people, I plan on continueinf to tinker with it over time. If you have any feedback or suggestions, drop me a comment or a tweet on Twitter.

Buy Me A Coffee

How I Made My Heating Smart Without Damaging Or Replacing Anything

I’ve previously mentioned that I wanted to upgrade my heating system so I could program it with more complex timings or control it form my phone. But there’s a catch: The house is rented, so the whole system must do no damage, be made only of removable parts and be installed without modifying any of the existing infrastructure.

In this post, I’ll talk about how I managed it, how it works and what the current state of the project is.

Background

My electric heating is controlled by a Timeguard RTS113 mechanical timer located awkwardly in a kitchen cupboard; it consists of a large outer ring that rotates once every 24 hours. On this ring, you push in red (on) or blue (off) plastic pegs (called tappets in the user manual) at the time you want the heating to turn on or off. As the peg passes a control spindle (representing the current time in the bottom right) it pushes it around approximately one eighth of a turn. Each eighth of a turn of the control spindle, toggles the heating on or off.

A second inner ring allows you to suppress the morning or afternoon schedule for a given day in the week. For example, you can have the heating come on at 6:00am and 7:00pm every day, except on Saturdays where it does not come on at 6:00am because the morning schedule is suppressed.

This works reasonably well, but it’s not very flexible – you pretty much a to live your life on the same schedule every day – if you deviate from it the heating is either wasting power while you’re out, or you’re freezing and have to reach into the cupboard to press the override button.

I’d love to have a smart thermostat such as Nest or Hive but they don’t support my electric heating and as this is a rental house, I’m not able to modify anything to support them.

What I Wanted To Do

The control spindle that is rotated by the pegs has a small slot on the top that can be turned manually using a screw driver to toggle the heating on an off. I can remove all of the pegs and use a stepper motor to very gently turn the spindle each time I want to change the heating state. I could then connect this to a controller that receives instructions from the internet, and write whatever software I wanted to run the schedule.

The Motor

Continue reading

Using the Monoprice Voxel (FlashForge Adventure 3) With Ultimaker Cura

Recently I bought a Monoprice Voxel (a rebranded FlashForge Adventurer 3) 3D printer, and I’ve spent the last couple of weeks getting to grips with it. I’m very impressed – it works well and I’ve had a lot of fun building parts of my projects.

One interesting this about the printer is that it comes with its own slicing software called FlashPrint. This seems to work quite well, slicing all the models I threw at it and sending them to the printer. However, I was curious if it was possible to use the printer with the Ultimaker Cura slicer, which has some more advanced features and is supported more widely by the community.

I did a load of research and found some interesting topics on reddit and Ultimaker forum, I also examined the .gx files produced by FlashPrint and thoes sent to the printer by PolarCloud. I’ve gathered all this together into a this guide for using Cura, but it stands on the shoulders of a whole bunch of other people in the community, so thanks to those people you really helped me figure all this out.

Update (January 2011): A YouTube user confirmed that these steps also work for the FlashForge Adventurer 3 Lite.

Disclaimer

Every model I have printed in this way has worked well and I am very pleased. However, follow this guide at your own risk – If something bad happens to your printer, on your own head be it.

Observations

FlashPrint and the printer appear to use a custom file format for printing – .gx. This is identical to the .g file used by other printers but with some additional metadata at the top. I suspect this is the image of the model that’s shown while printing, as well as the print time estimation.

The printer is perfectly happy to print .gcode files, provided the file extension is changed to .g first. While printing a .g file the time estimation on the printer screen does not count down the remaining time, it counts up the elapsed time. Also instead of a small image of the model being shown, a generic icon is displayed.

Update (November 2021): I’m hearing from some people that after updating the printer to the latest firmware, that they get a “file format error” on the printer when using Cura sliced files. It seems like FlashForge have changed something (deliberate or otherwise) that is blocking Cura. I don’t have a solution to this right now, if you have more information, do get in contact. If this works for you do not update the printer.

Getting Cura

Firstly, you need to install the latest version of Cura from the Ulimaker website.

Continue reading

New Project: Zero Damage Smart Heating in a Rental House

This is the first post in a series documenting my attempt to build a smart heating system for a rental house. Further posts will follow as I work on it.

I have electric heating in my house, powered by a central timer from the past. The timer is a masterpiece of engineering, but is incredibly crude by modern standards. I’d love a connected system such as Nest or Hive but these systems only support low voltage trigger systems found with most gas systems, not the high voltage switching I have.

So I want to build my own, It’ll be fun, educational and greatly improve my quality of life in the winter. There’s just one thing though: I don’t own the house, so whatever I do must be easily reverted / removed / undone. Also, I’m a software not an electrician so, in the name of safety, I am not re-wiring anything or changing how it currently works.

The Timer

The timer is a Timeguard RTS113, it supports switching the heating on or off once every 30 mins by inserting a red (on) or blue (off) tappet at the appropriate time. On an inner ring it supports suppressing this schedule for the morning or afternoon for any day in the week. For example, you can have the heating some on at 6:00am, and 7:00pm every day, except on Saturdays where it does not come on at 6am.

The tappets are attached to a rotating dial, which rotates once per 24 hours. Each tappet has a lug, that as it passes a control spindle, pushes it around an 8th of a turn. As the control spindle is rotated it toggles the heating on or off.

The Plan

The control spindle has a plastic screw slot on the top to help you see its current state when programming the timer. So, in theory, I can remove all of the tappets and turn the control spindle manually (and very gently) using a stepper motor each time I want to turn it on or off.

Proof of Concept

I picked up a suitable looking stepper motor and motor controller from The Pi Hut, and hot glued a washer to the end. By holding this in place I was able to turn the heating on an off by rotating the motor with an Arduino. Now to figure our a more permanent arrangement…

Next Steps

I’ve already used Tinkercad and made a driver head to fit over the motor shaft and engage with the timer’s control spindle (replacing the hot glue blob from the proof of concept), I’ll 3D print this and see how it goes. Then I need to design some kind of support to hold the motor in the correct place so I can let go of it.

The above gif was made using Paint 3D ❤️