A couple of months ago, I put a film in my Pentex ME Super, took some photos and then got distracted for a little while. In that time, the box end on the camera back slipped out and I totally forgot what was in it.

When I returned to shooting, I assumed that the film must be Ilford HP5 plus – what I normally use – and went out to take some photos. Unfortunately, on rewinding the film, I realised that I’d made a mistake – the Film was not HP5, but Kodak ColorPlus 200.
This was disappointing because I was partially looking forward to seeing some of the photos I had taken in black and white. I guess I could have the film lab developed in colour and convert to B&W in Photoshop, but that feels wrong somehow.
That’s when I discovered, that not only had I been using colour film thinking it was B&W, but I had the camera set to ASA 400, when this was a 200 film, so now I have an entire underexposed colour film that I wish was black and white.
I contacted a couple of labs to ask if they could push process a C-41 film with no luck, I considered just having it developed at box speed and trying to fix in photoshop. I decided, though, to use this as an experiment and learn something from it (other than to pay attention to what you’re shooting with). I’d heard that you can cross process C-41 film in black and white chemistry, but searching seemed to indicate about as many people saying it hadn’t worked as had.
Then I came across this post, where the author used both the same film stock and developer as I had. In the post he had used the average development times for black and white film. I decided to do the same, developing at low temperature and doubling my normal development times from 6:20 to 12:40.
I also wanted to push process this film to compensate for my incorrect camera config, to do this I combined the “double it” approach from above, with a rule of thumb I remember reading once of “one minute per stop”, and added two minutes for a total development time of 14:40 minuets.
I pulled the wet film out of the tank and was astounded that it had developed at all, I scanned them using a DSLR and Lightroom. I am really pleased with the results; the exposure is correct, the contrast is also good and the film is not too grainy.
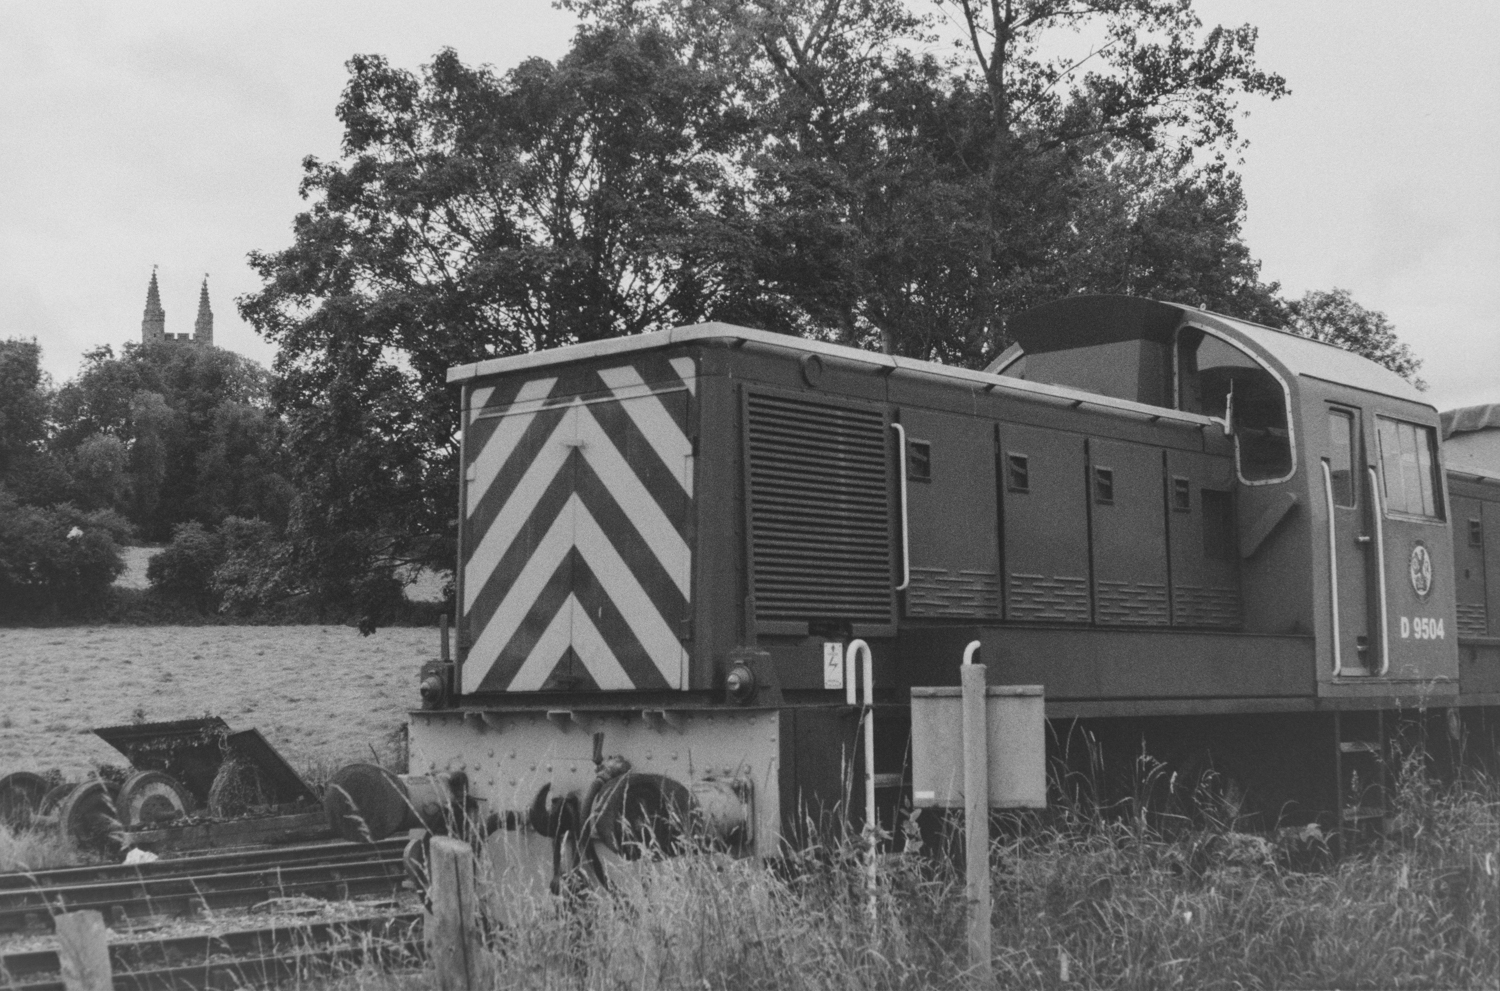
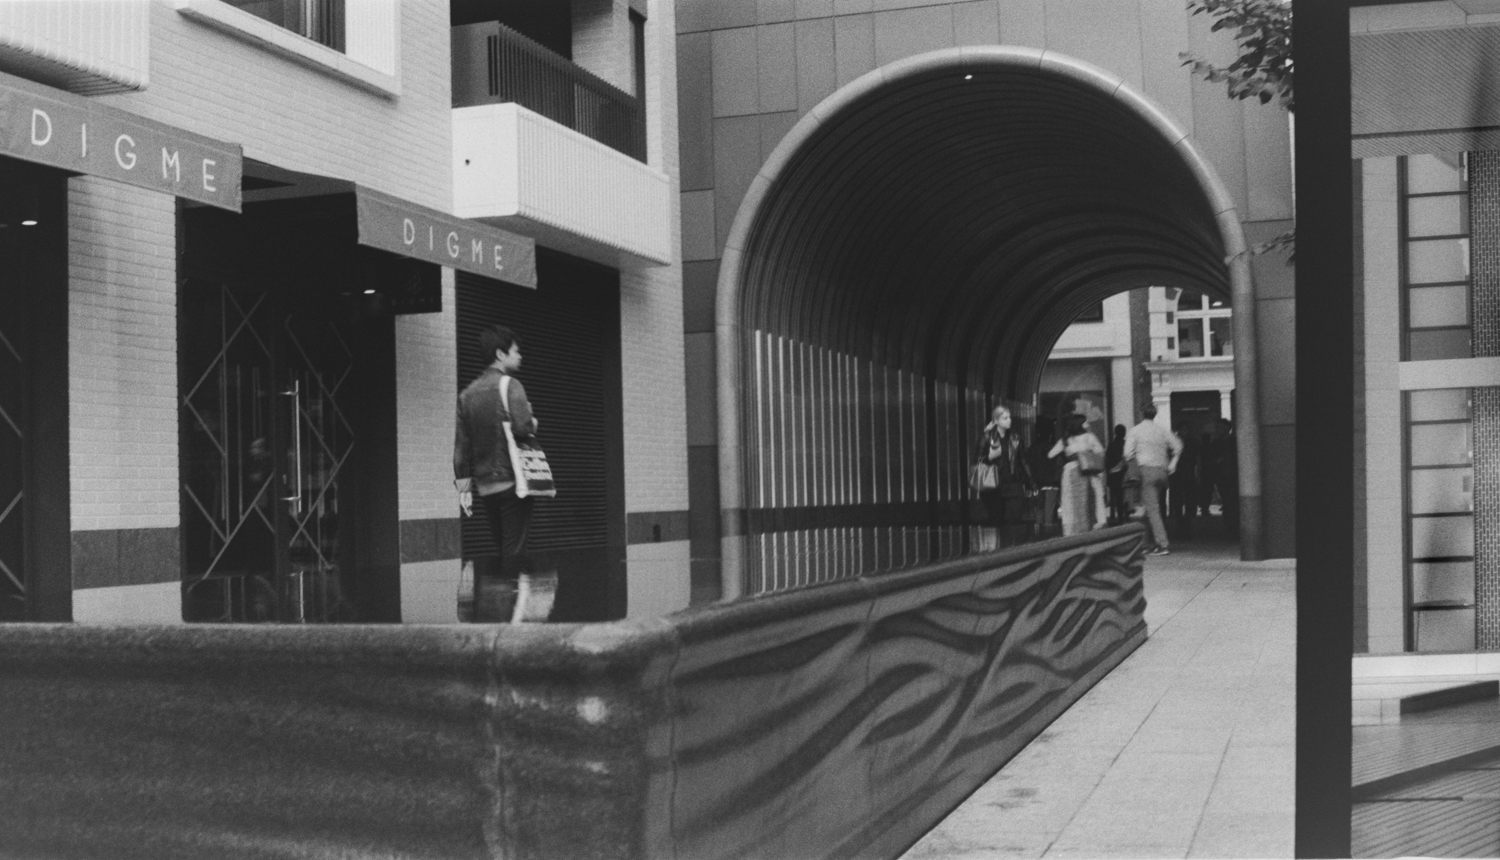
Here are some of the photos from that film. The image on the left is a flat scan and the right is after some editing in Lightroom.


For reference, here is my development process, but your mileage my vary.
Chemistry:
Ilford Ilfosol 3, 20°c, 1+9
Ilford Ilfostop, 20°c, 1+19
Ilford Rapid Fixer, 20°c, 1+4

Process:
1) Developer 12:40 [Add 2:00 for each push], 4 inversions at start and every minute
2) Stop 0:30, 4 inversions at start
3) Fix, 5:00, 4 inversions at start and every minute
4) Wash 1 0:15, 5 inversions
5) Wash 2, 0:30, 10 inversions
6) Wash 3, 1:00, 20 inversions
7) Wetting agent, 5 inversions
As a final experiment, I wanted to know what would happen if I ran the black and white photos though a Photoshop Neural filter to restore the colour. It didn’t work too well for every picture, but for some the results where pretty effective.

I’m not sure I’d deliberately process a film in this way again, but in all I’m pretty pleased with how it came out. If you try something similar let me know in the comments comment, or contact me on Twitter.

I don’t know if you are aware but if you process color film as B&W, you can go back and process for color as outlined in Kodak publication AE31. I have done this on purpose so I can control some of the contrast and I like the look. Here is one example I did after mistakenly developing kodak 5219 in B&W developer https://flic.kr/p/2oN7NCY
This is Kodak’s description of the process:
To reprocess KODAK Color Negative and
EKTACHROME Films, use the following procedure
in normal room illumination:
98–102°F (37–39°C); or in KODAK FLEXICOLOR
Bleach, Process C-41—4 minutes at 98–102°F.
Note: The bleach must be free of hypo. If in doubt, use
a fresh bleach solution.
distance of 1 foot (0.3 m) for 15 seconds on each side.
Even though the preceding steps were done in room
illumination, the exposure may have been uneven.
Warning
A lighted photoflood lamp becomes quite hot and will
shatter if you allow any liquid to splash on its surface. Place
sheets of glass where they will protect the lamp from
spattering or splashing of the solutions or the wash water.
Chemicals, Process C-41.
Now that you have reprocessed your films as color
negatives, you can make color prints on KODAK
EKTACOLOR Edge 7 or ROYAL VII Paper, or
black-and-white prints on PANALURE SELECT RC Paper;
or color slides on KODAK VERICOLOR Slide Film.
LikeLike